


Easy & High-Quality Before and After Photo Setup for Busy Medical Clinics
Before-and-after photos are one of the most powerful tools a medical practice can use to build trust and attract new clients. When done correctly, they clearly show real results, help people decide if a treatment is right for them, and give potential clients a realistic idea of what to expect.
These photos are often the first thing prospective clients notice when browsing a medical practice’s website. Strong photo galleries can even outperform polished web designs when it comes to converting visitors into clients.
This guide breaks down how to capture great before-and-after images using tools you likely already have. You don’t need professional gear or a fancy studio. You just need consistency, the right setup, and a few simple tools.
What You Actually Need
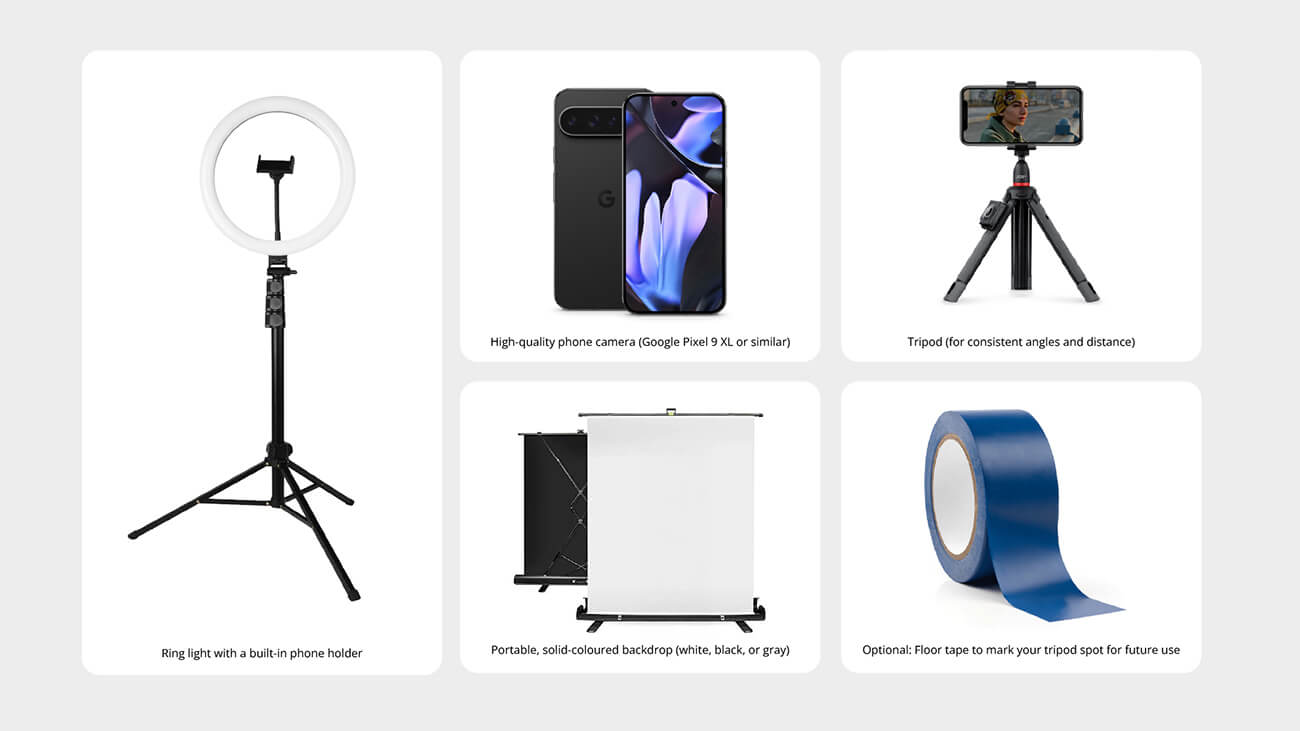
You only need a few items to get started:
- A high-quality phone camera (Google Pixel 9 XL or similar)
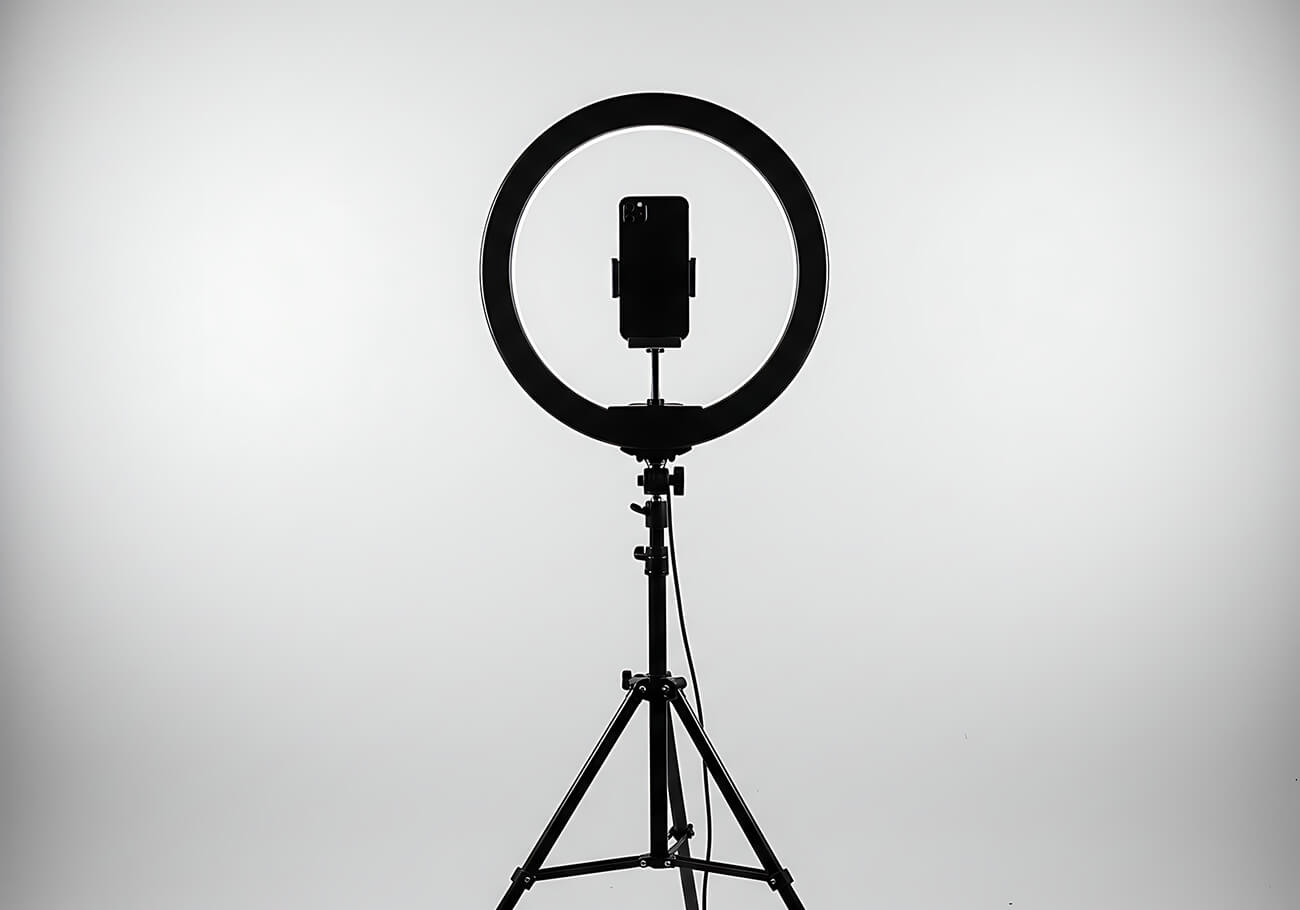
- A ring light with a built-in phone holder
- A portable, solid-coloured backdrop (white, black, or gray)
- A tripod (for consistent angles and distance)
- Optional: Floor tape to mark your tripod spot for future use
Skip the DSLR. Today’s smartphones are more than capable, and your staff will be happy.
How to Set Up Your Photo Area
Follow these steps to create a consistent photo setup:
1. Pick a Spot with No Windows
Natural light changes throughout the day and can affect colour and shadows. Choose a corner with no windows, or use blackout curtains.
2. Set Up the Backdrop
Position the portable backdrop against the wall. Avoid patterns or textures.
3. Place the Tripod and Ring Light
Mark the tripod spot on the floor with tape so you can always place it in the same position.
4. Use the Same Phone Every Time
Stick with one phone model and zoom setting to keep photo quality and framing consistent.
Taking the Photos
1. Get Written Consent First
Make sure patients understand how their photos will be used. Always get written consent, especially for anything posted online.
2. Use Consistent Angles for Every Treatment Area
Every treatment should be photographed from multiple angles to properly show results. Refer to the table below for how to handle different areas.
| Treatment Area | What to Do |
| Face | 1. Capture frontal, left & right profile, and both 45° angles 2. Remove makeup and pull hair away from the face 3. Keep a neutral expression (unless the treatment affects expressions) 4. Use soft, even lighting |
| Body | 1. Maintain the same posture in before and after shots 2. Choose full-body or close-up framing based on the treatment 3. Use floor markers to position the patient and tripod consistently 4. Avoid distracting clothing; the treated area should be clearly visible 5. Capture 360° views if needed Optional: Include a scale or ruler for measurement reference |
| Intimate Areas | 1. Get written consent before taking photos 2. Maintain professional communication and provide a private space 3. Use draping techniques to show only the treated area 4. Avoid including tattoos or identifiable marks 5. Store securely with access limited to authorized staff only |
Use the same lighting, distance, and phone for every photo. Avoid switching devices or setups between sessions.
Tip: Keep Everything Natural
Do not edit the photos—no filters, smoothing, or lighting tweaks. Clients can tell when images are altered, and it hurts credibility. Additionally, ask patients to wear the same clothing in both sets of photos to show the changes clearly.
Organizing and Sharing Your Photos
1. Store Photos Securely
Use encrypted cloud storage designed for medical use. Avoid including names in filenames for patient privacy. Instead, use a code, date, and treatment type.
Example: B1234_LipFiller_2024-02-10.jpg
Back up your files regularly and limit access only to authorized staff.
2. Share with Your Marketing Team
Give your marketing team access to these folders. They’ll handle cropping, resizing, and uploading for web and social. Let them do it — they know how to format for each platform.
Conclusion
Consistent, high-quality before and after photos don’t just document results—they shape how your practice is perceived. They help patients trust your expertise, understand what to expect, and feel confident in moving forward with treatment. Whether you’re capturing subtle facial enhancements, body contouring results, or more intimate procedures, creating a repeatable photo process protects your reputation and builds long-term credibility.
How Wisevu Can Help
If you’re not sure how to structure your workflow, organize your image library, or get the most value from your photo assets online, Wisevu can help. We specialize in digital marketing for medical practices, with a strong focus on SEO, conversion strategy, and compliant content creation. From optimizing photo galleries on your website to making sure your visuals perform well across ads and social media, our team knows how to turn your treatment results into powerful marketing tools.
Want to improve how your practice presents its results? Let’s talk.